Changing your blog address on Ghost
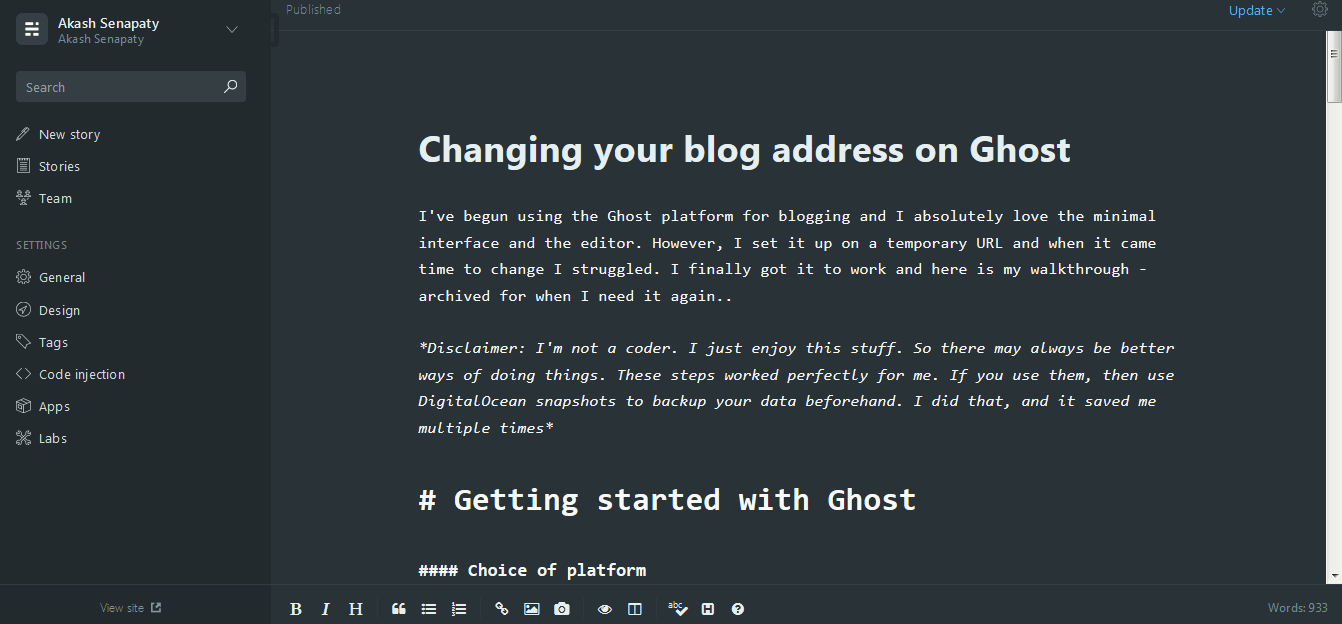
I've begun using the Ghost platform for blogging and I absolutely love the minimal interface and the editor. However, I set it up on a temporary URL and when it came time to change I struggled. I finally got it to work and here is my walkthrough - archived for when I need it again..
Disclaimer: I'm not a coder. I just enjoy this stuff. So there may always be better ways of doing things. These steps worked perfectly for me. If you use them, then use DigitalOcean snapshots to backup your data beforehand. I did that, and it saved me multiple times
Getting started with Ghost
Choice of platform
Here are the two options I considered when I decided I want to use the ghost platform.
- GhostPro - which is the official platform offered by Ghost. Starting at $19 p.month
- Host it on DigitalOcean - This is way cheaper at $6 p.month, so its great for personal blogs. If you're inclined to tinkering about a bit - then pick this option. Click here for a $200 credit, which you can use over 60 days
Hosting on DigitalOcean
The process is:
- Sign up with DigitalOcean
- Pick the one-click-install of Ghost
- Once the installer has completed, you need to access that droplet (IP address) to complete the setup
- For step-3 you need a terminal window. Max and Linux folks should be fine. For Windows users, you'll need the bash terminal. You can download it here. Install it and keep all the default options if you aren't sure
- Once set up you should be able to access the /ghost directory on your blog to complete setup via your browser. So if you set it up on newdomain.com then head over to newdomain.com/ghost to complete the setup. You're done!
Changing the address of your Ghost Blog
This is the main reason why I wrote this post. I wanted to migrate to this domain away from blog.akashsenapaty.com and I couldn't find any guide to do it. So here are the steps I followed:
Overview:
(1) Configured my blog to work with a second URL and then
(2) I implemented a 301 permanent redirect from the old domain to the new domain. It's a bit round about, but it works perfectly fine.
Tip - You can also use this exact same process to redirect all request to www.mydomain.com, to mydomain.com. I.e. remove the www from the URL
These steps worked fine for my on my DigitalOcean hosted blog. Also, you'll need to be on the terminal to run the following commands
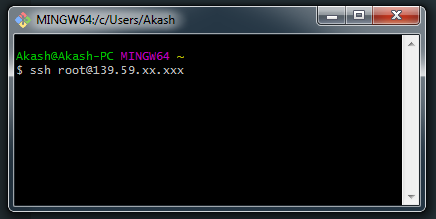
- SSH into your Ghost Blog with the commmand:
ssh [email protected]replacing for the IP address of your blog
- Use
sudo -i -u ghost-mgrso that you start managing your Ghost installation - Use
cd /var/www/ghostto change to the Ghost directory - Now the fun starts. We tell Ghost to configure a new domain with the following command
ghost config url https://newdomain.com- assuming that you're shifting to newdomain.com - Next we tell Nginx to accept requests from newdomain.com. Run
ghost setup nginxto execute this - Next we need SSL certificates for for new domain. Run
ghost setup ssl. - And finally we tell Ghost to restart with
ghost restart
Now, you'll have Ghost running and responding to requests both from olddomain.com and newdomain.com
So now we need to tell Nginx to redirect all requests from olddomain.com to newdomain.com - here are the steps I followed for that:
- SFTP into the IP address of your Ghost blog. I use Filezilla - download
- Navigate to /var/www/ghost/system/files
- Here you'll see .conf files for olddomain.com and newdomain.com
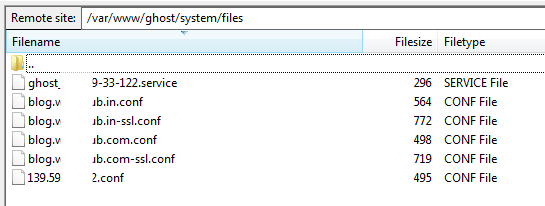
- We want to edit BOTH the .conf files for olddomain.com (ssl and non-ssl) and add in a 301 redirect - so download BOTH the .conf files for olddomain.com. Save a backup of this
- Open up the files in a text editor (Sublime text for instance)
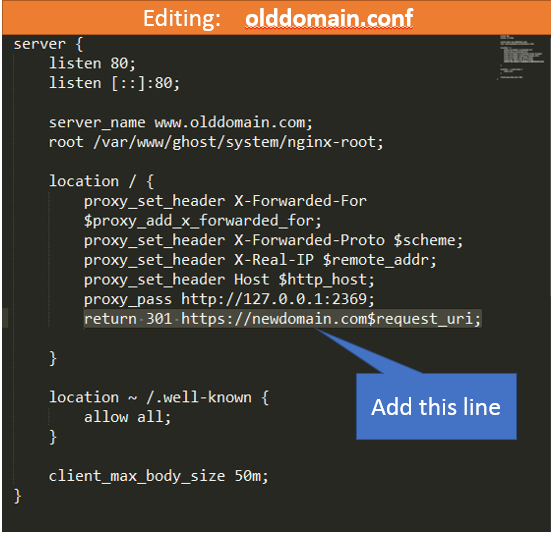
- Open olddomain.conf and add the following line
return 301 https://newdomain.com$request_uri;in the location block. This tells Nginx to permanently redirect requests made to olddomain.com, to newdomain.com instead.
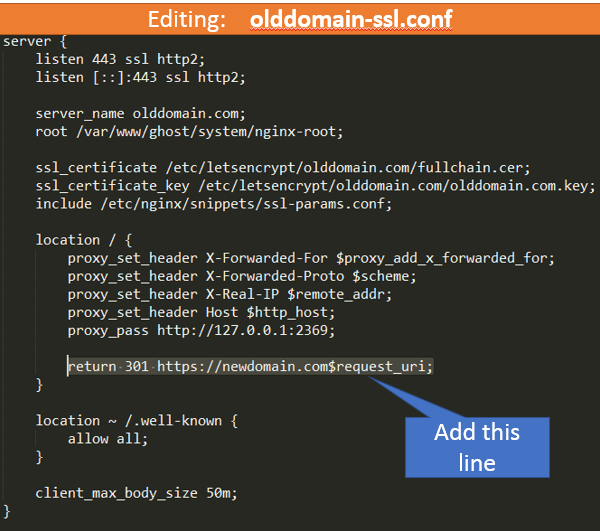
- Open olddomain-ssl.conf and add the above line again into the location block.
- Reupload and replace the old files in the system directory
- Open the terminal and SSH into your Ghost droplet again
- Run
sudo nginx -tto make sure that the new Nginx configuration haven't broken anything - Run
systemctl restart nginxrestart Nginx and refresh the config files and you're done
akash.gg Newsletter
Join the newsletter to receive the latest updates in your inbox.